
Site planning
How much clearance does a greenhouse need?
Measure the real working space a greenhouse needs around its frame, roof, door and gutters before building a base or buying a kit.
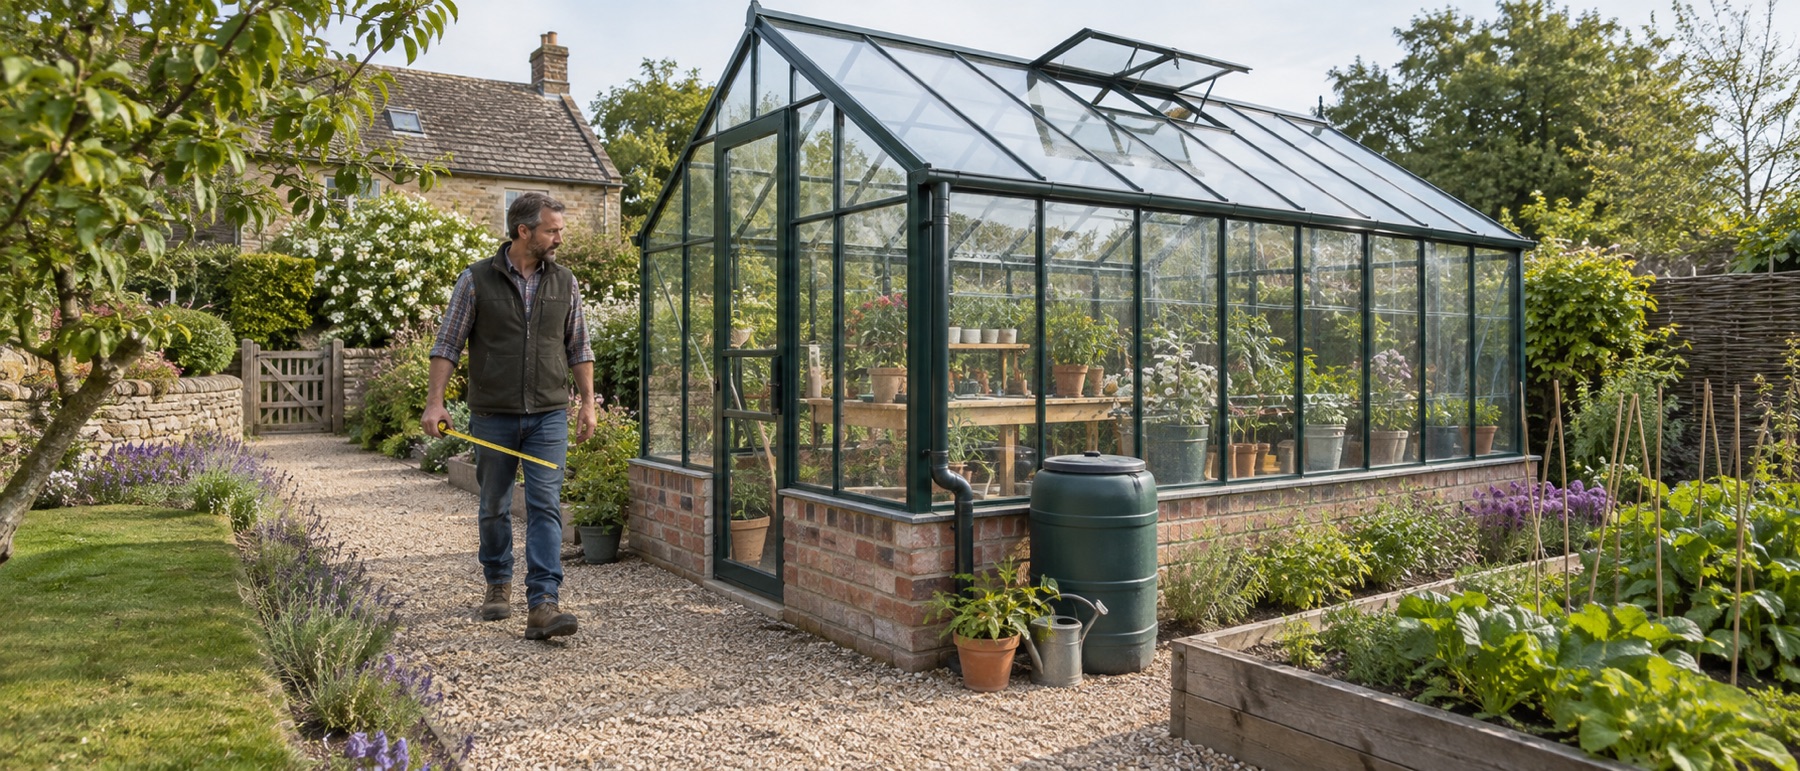
Mark overall roof dimensions as well as the base drawing.
Test the door with your widest tray, barrow or mobility aid.
Reserve space to fit and replace glazing from outside.
Keep access on land you control, including beside fences and walls.
Start with the exact model, not its size label
A “6 × 4” greenhouse can have base dimensions that differ meaningfully from another “6 × 4”. Roof overhangs, gutters and optional perimeter bases make the installed envelope larger again. Take the chosen model's technical drawing and mark two rectangles: the base contact line and the furthest roof or gutter edge. Add the opening arc or sliding travel of doors and vents.
The greenhouse dimensions guide explains these measurements. Until you have a specific model, treat every clearance sketch as provisional. This avoids casting a base that fits the nominal label but leaves no room for the finished roof.
Think through installation from delivery to glazing
Flat-packed frames need a clean place to sort components. Long rails have to be carried around corners, stood upright and sometimes assembled at ground level. Glazing may be installed from outside, and a helper needs footing beside the frame. Read the manual before deciding that the gap behind the greenhouse is “wasted” space.
A fence-side location can work with a suitable design, but do not assume you can later reach over a neighbour's fence to fit panels. If a model demands external fixing at the back, either preserve that access on your side or choose a different product and position.
Keep a maintainable outer path
Seasonal cleaning is easier if you can stand safely beside the glazing with a soft brush and rinse water. Gutters need clearing; vents and seals may need adjustment. A path that looks adequate when empty can disappear once a water butt, potting bench or shrubs are added.
Check that the route remains reasonably firm and drains after rain. A muddy narrow strip encourages people to lean against glazing, which is particularly risky while carrying tools or panes. In an exposed garden, keep room to inspect anchors and repair storm damage. Our maintenance checklist identifies recurring access needs.
Give the doorway a real approach
Draw the door in its open position. A hinged door needs swing space; a sliding door avoids the arc but still needs a clear track. Stand at the proposed threshold with the widest tray, trolley or wheelbarrow you expect to move. If you must turn sharply between a fence and the door, test that manoeuvre before choosing the base position.
For accessible use, measure the actual mobility aid and user’s turning requirements. A clear opening alone is insufficient if a raised threshold or tight outside turn prevents entry. See the accessible layout guide for planning the route as a whole.
Check light, shade and water
A wall or tall fence close to glazing can reduce morning or afternoon light. It can also obstruct an opening vent. Trees add seasonal shade and falling leaves. Look at the proposed plot at several times of day rather than using a single photograph. The position guide covers light and shelter in more detail.
Plan where roof water goes. Gutters and downpipes should remain clear of boundaries, paths and neighbouring structures. Do not route runoff onto a neighbour's land. Leave room to install and maintain any water butt or drain connection.
Apply planning conditions separately
Practical clearance and planning law answer different questions. A close boundary position can trigger height conditions even when there is no universal physical setback. The detail differs across England, Wales, Scotland and Northern Ireland. Use our boundary guide and local authority advice for the actual property.
Before groundwork, peg the complete envelope on the lawn and walk all planned routes. If any essential task needs someone else's land, a change of footprint or location is usually cheaper than trying to solve it after installation.
For an England property, the Planning Portal outbuilding guidance is one official checking route. It does not specify the access needed for your particular glazing system, and it is not a substitute for the separate rules in other UK nations.
Helpful products
Footprint and access vary by format
A wall unit, compact freestanding model and larger walk-in greenhouse need different working envelopes. Compare their published base and overall drawings.

Halls Wall Garden 24 greenhouse
Best for: compact glass against a wall
A slim aluminium wall greenhouse with a 1.32 × 0.69m overall footprint, sliding door and roof vent. Standard glazing is 3mm horticultural glass; toughened glass, base and staging are optional.
What stands out
- Very shallow projection
- Roof vent and sliding door
- Toughened-glass upgrade available
Keep in mind
- Standard glass is not toughened
- Base, staging and anchor kit are not included
- 1.32 × 0.69m overall
- aluminium frame
- 3mm horticultural glass
- 588mm sliding door
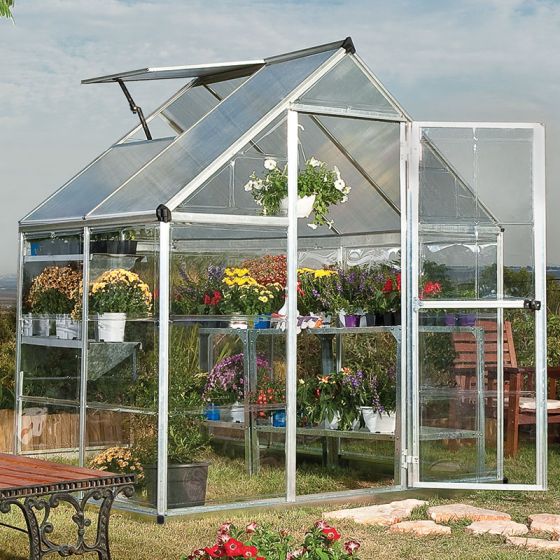
Palram Canopia Hybrid 6 × 4 greenhouse
Best for: a compact first walk-in greenhouse
A compact walk-in with a 1.85 × 1.25m base, diffusing twin-wall roof panels and clear polycarbonate sides. It is the most balanced fit here for a small garden that can still keep a central path.
What stands out
- Compact walk-in footprint
- Clear sides and diffusing roof
- Steel perimeter base included
Keep in mind
- Single 565mm door
- One roof vent means summer airflow needs planning
- 1.85 × 1.25m base
- aluminium
- polycarbonate
- one roof vent

Halls Cotswold Blockley 8 × 10 greenhouse
Best for: a roomy toughened-glass layout
A larger aluminium greenhouse with a published 2.56 × 3.17m size, toughened glass, integral base, low-threshold sliding door, four roof vents and guttering.
What stands out
- Four roof vents
- Low-threshold sliding entry
- Integral base and gutters
Keep in mind
- Requires a large level foundation
- Large glazing demands careful installation
- 2.56 × 3.17m published size
- toughened glass
- integral base
- four roof vents
Common questions
Frequently asked questions
Is 60cm enough around a greenhouse?
It may be enough for some tasks and too narrow for others. Check the installer’s method, door movement, gutter access and whether you can safely carry a replacement panel through the gap.
Do I need access to every side?
Most freestanding greenhouses benefit from it for assembly, washing, glazing and gutters. A wall-mounted model is designed to use a wall, but its roof, ends and fixings still need the access described in its manual.
Should I measure from the base or roof?
Both. The roof and gutters can project beyond the base, while anchoring happens at base level. Draw each outline separately on the site plan.
How much room is needed in front of the door?
Enough for the door's full movement and your normal load or mobility aid to approach and turn safely. Measure this in your own layout rather than copying a generic figure.
Can I place the greenhouse against a fence?
Only if the model and installation method allow that arrangement and you can still maintain it without relying on neighbour access. Check boundary planning conditions separately.