
Replacement panel planning
Greenhouse replacement glazing guide
Identify replacement greenhouse glazing with illustrated panel, seal and retention checks, plus a printable specification worksheet for exact dimensions and parts.
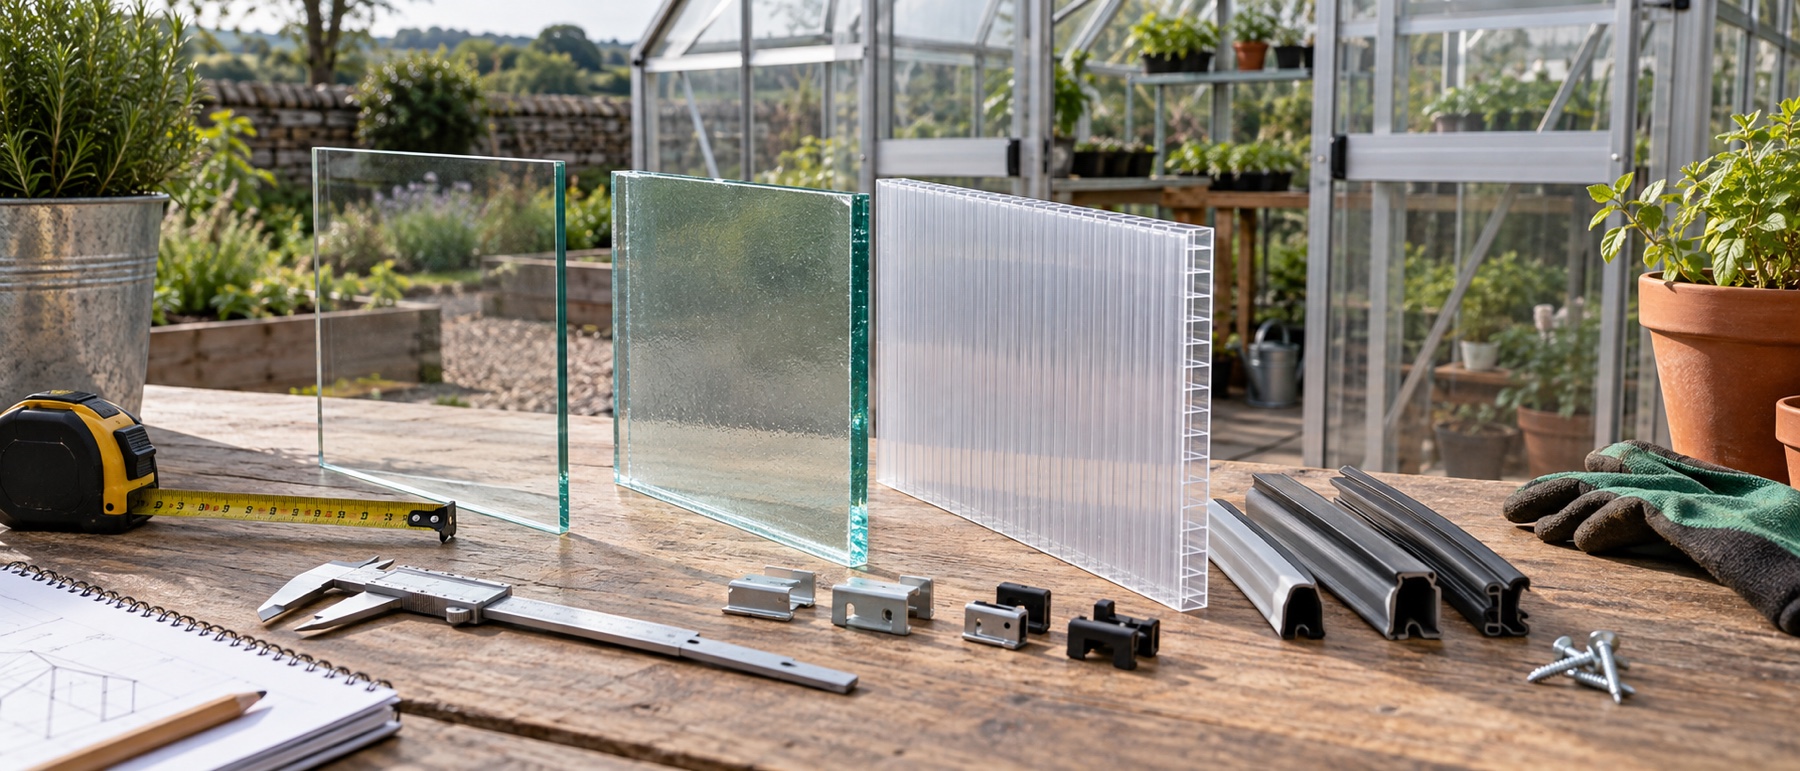
Manufacturer-supplied replacement panels are the lowest-risk starting point.
Toughened glass must be ordered at finished size and cannot be cut afterwards.
Twin-wall polycarbonate needs the correct thickness, channel direction and edge closures.
Roof, large and inaccessible panels should be handled by a competent specialist.
Start with the greenhouse identity
Find the maker, model, nominal size and approximate age. Look for a label on the base, door or frame and compare the assembly manual. Many greenhouses share a nominal 6 × 8 footprint while using different bay widths, ridge details and clips.
Photograph an intact panel in the same position, including its upper and lower edges. Record part numbers for cappings, gaskets and clips. Manufacturer-supplied glazing is the safest first enquiry because it should account for the complete system rather than the clear opening alone.
Record the full panel specification
For every replacement, write down:
- finished width and height;
- material and thickness;
- pane position—side, end, door, roof or vent;
- single pane or overlapped arrangement;
- edge finish, corner cuts and any holes;
- gasket, capping, tape and clip types;
- orientation marks, including the UV-protected face;
- whether the frame opening is square and undamaged.
Measure an identical intact panel where possible. Check dimensions in more than one place. If the empty opening is not square, investigate frame or base movement instead of ordering a panel to match the distortion.
Three parts of one system
An illustrated glazing compatibility checklist
A panel, its seating seal and its retention parts must work together. These simplified diagrams identify what to record; they are not installation details, scale drawings or interchangeable part recommendations. Use the exact maker's instructions for your panel position.
Match material, thickness, finished dimensions and any shaped edges or holes. For plastics, record UV orientation, channel direction and specified movement allowance. Do not copy the empty opening as the finished sheet size.
Record the seal or gasket part number, profile and location. Compare an intact original without damaging it. Similar-looking rubber may sit at a different height or fail to fit the channel. Check the bar is undamaged and the opening square.
Identify the part number, material, quantity, positions and engagement shown in your manual. Do not substitute a generic clip for a proprietary capping system. Traditional W retaining clips and Z overlap supports do different jobs; a mixed repair pack is not proof of compatibility.
The Halls Wall Garden manual (PDF) distinguishes glazing systems, while the Blockley manual (PDF) identifies its cappings by part number. Use your own model and supplied revision; see our glazing-seal guide for the separate profile check.
Stop if any part is unresolved. A panel can match the opening yet be unsuitable for the seal, retention or load. Frame distortion, a proposed material conversion, roof access or a large pane needs competent assessment before an order is placed. Never climb on greenhouse glazing.
Keep with your parts information
Printable replacement-panel specification worksheet
Complete one sheet per different panel type. Use millimetres and label photos or samples to match the panel position. Leave unresolved details marked unknown; this sheet records the specification, it does not approve a repair.
The print button or your browser's Print command prints this worksheet only. Nothing entered on paper is submitted to us.
1. Identify the panel
| Record or confirm | Your specification / source |
|---|---|
| Maker, model, size and approximate age | |
| Manual revision / drawing and panel part number | |
| Panel position (roof, side, end, door or vent) / quantity | |
| Material and specified thickness (mm) | |
| Finished width × height (mm), not just opening | |
| Shape, corner cuts, holes and edge finish |
2. Match the complete system
| Record or confirm | Your specification / source |
|---|---|
| Measured opening / squareness / intact-panel reference | |
| Overlap and support arrangement (if applicable) | |
| Seal profile, part number and seating detail | |
| Clip / capping part number, quantity and positions | |
| Specified expansion / edge allowance (source required) | |
| UV face, channel direction, tapes and caps (if applicable) |
3. Resolve before ordering
| Record or confirm | Your specification / source |
|---|---|
| Frame / base damage or movement to resolve | |
| Supplier confirmation of panel AND retention compatibility | |
| Access, handling and competent installer arrangements |
Before placing the order
□ Exact panel and system confirmed □ Unknowns resolved □ Safe fitting arranged
Do not order toughened glass for later cutting or drilling. Do not infer a thermal allowance, clip count or compatible seal from these drawings. Roof, large or inaccessible panels may need a specialist.
Better Growing Spaces · bettergrowingspaces.co.uk/guides/greenhouse-replacement-glazing/
Horticultural glass
Traditional horticultural glass is commonly supplied in smaller panes that overlap. It transmits light clearly and individual pieces can be relatively inexpensive, but breakage can form long sharp shards. The overlap, supporting clips and edge clearances must match the greenhouse.
Never assume ordinary picture-frame or window glass is an acceptable substitute. Order from a glass or greenhouse supplier that understands the application and required thickness.
Toughened safety glass
Toughened glass is heat-treated and usually breaks into many smaller pieces rather than long shards. It is often used in full-height or large panes, producing fewer overlaps and easier cleaning. It is heavier to handle and must be manufactured to the finished size.
Toughened glass cannot be cut or drilled after processing. Any holes, shaped corners and edge treatment must be specified in the order. Large panes and doors deserve professional measuring and installation.
Laminated glass
Laminated glass retains fragments on an interlayer when broken, but it is not a casual replacement for every greenhouse. Weight, thickness, edge exposure and retention differ. Use it only when the greenhouse or a competent glazing designer confirms compatibility.
Solid polycarbonate
Solid polycarbonate is lighter than glass and has high impact resistance, but it expands more with temperature and scratches more easily. The frame needs the correct allowance and compatible gaskets or cappings. A tightly cut sheet can bow or stress fixings on a hot day.
Confirm UV protection and orientation. Clean it with the manufacturer's mild non-abrasive method; unapproved solvents can cause surface damage.
Twin-wall polycarbonate
Twin-wall sheet traps air between internal channels, reducing weight and heat loss relative to single glazing. Its thickness and channel geometry must fit the glazing bars. Generic 4mm sheet is useful only where the greenhouse genuinely uses 4mm panels and can retain the chosen sheet.
Install the UV-protected face outward according to markings. Orient channels as instructed so condensation can drain. Upper and lower edges often use different closure tapes or caps: the upper edge excludes dirt and water, while the lower detail may allow vapour and condensation to escape.
Acrylic and other plastics
Acrylic glazing can offer clear light transmission but behaves differently from polycarbonate in impact, drilling and movement. Do not use “plastic” as a complete specification. Identify the polymer and follow its own cutting, cleaning and retention instructions.
Multiwall acrylic and proprietary composite panels may be model-specific. Replace like for like unless the greenhouse manufacturer approves a conversion.
Compare options as a system
| Factor | Horticultural glass | Toughened glass | Twin-wall polycarbonate |
|---|---|---|---|
| Typical format | Smaller overlapping panes | Larger finished panes | Lightweight channelled sheets |
| Cutting | Supplied or cut by a competent glass supplier | Cannot be cut after toughening | May be cut if instructions permit |
| Main retention issue | Correct overlap and clips | Pane weight and exact finished size | Thickness, expansion, caps and tapes |
| Cleaning | Soft non-abrasive tools | Soft non-abrasive tools | Mild compatible method only |
| Main handling risk | Sharp shards | Heavy finished pane | Flexing, scratching and damaged edges |
This table describes common characteristics, not a permission to interchange materials. The frame design remains decisive.
Measure before removing the last reference
If one matching pane is intact, measure and photograph it before dismantling. Mark which edge was uppermost and the direction of any overlap. For polycarbonate, record the printed UV face before peeling film.
Keep one original clip, gasket offcut or capping profile as a labelled sample. Do not rely on memory or a marketplace photograph when millimetres affect retention.
Retention parts matter
W clips hold panes against some glazing bars; Z clips maintain overlap between some traditional glass panes. Other systems use rubber gaskets, screwed caps, snap-on cappings or proprietary spring clips. None is universal.
Too few correct clips may allow movement, but adding extra or wrong clips can concentrate stress on an edge. Use the specified number, location and orientation. Replace corroded bolts with the exact compatible material and thread; mixed metals can create corrosion problems.
Cutting and finishing polycarbonate
If cutting is permitted, keep protective film on, support the sheet fully and use the blade and speed specified by the manufacturer. Prevent swarf entering channels and remove it without scratching. Allow the exact thermal-expansion clearance required by the glazing system.
Apply the specified solid or vent tape and caps to clean dry edges. Do not seal both ends with an arbitrary household tape. Fit the panel without overtightening screws or crushing channels.
Safe fitting and access
Work only in calm dry conditions. Wear material-appropriate gloves and eye protection, isolate the area and keep a clear route. A small side panel may be manageable, but roof glazing, full-height glass, doors and large sheets can require specialist lifting and access equipment.
HSE guidance is clear that work at height must be planned and that safer access should be used where available. Never lie or lean on greenhouse glazing.
Check the completed repair
Inspect all edges, clips and cappings from both sides without pressing the panel. Operate the adjacent door or vent gently and confirm it does not strike the glazing. After the first temperature cycle and calm rain, check for movement, leaks and water trapped in twin-wall channels.
If a panel rattles, bows excessively or slips, isolate the area and correct the system rather than adding improvised sealant or random fixings.
Sources and related guides
The Palram polycarbonate care guide provides material-specific cleaning precautions. HSE work-at-height guidance supports the access limits used here. For a broken side pane, follow how to replace greenhouse glass and check the wider structure with our maintenance checklist.
Helpful products
Generic materials only for verified compatible repairs
The panel pack and mixed fixings below are examples, not universal parts. Confirm every dimension and retention detail before ordering.

The Fellie 4mm twin-wall polycarbonate panels, 14 pack
Best for: compatible cut-to-size twin-wall repairs
Fourteen generic 122 × 61cm twin-wall sheets in a listed 4mm thickness. They are a cut-to-size material option, not a universal replacement panel for every greenhouse.
What stands out
- Multiple sheets for several small bays
- Can be cut only with suitable methods
- Twin-wall format is light to handle
Keep in mind
- Will not fit every frame or bar system
- Edges, orientation and expansion allowance require exact installation guidance
- 14 sheets
- 122 × 61cm each
- 4mm listed thickness
- twin-wall polycarbonate

Homgaty 240-piece greenhouse repair kit
Best for: compatible clips, bolts and nuts
A mixed pack of W clips, Z overlap clips, aluminium bolts and nuts. It is a useful spares box only for frames and glazing systems that use these exact types and sizes.
What stands out
- Covers several common repair consumables
- Compact spares-box format
- Enough duplicates for routine replacement
Keep in mind
- Not universal
- Incorrect clips or bolts can leave glazing insecure or damage a frame
- 240 pieces
- 60 W clips
- 60 Z overlap clips
- 60 bolts and 60 nuts
Common questions
Frequently asked questions
Can I replace greenhouse glass with polycarbonate?
Sometimes, but only when the frame, retention system, thickness, weight, expansion allowance and edge details can accept the change. Ask the greenhouse manufacturer or a competent installer; do not substitute a sheet simply because it covers the opening.
What thickness polycarbonate do I need for a greenhouse?
Match the greenhouse specification and glazing-bar system. Common products vary, and even a one-millimetre difference can affect cappings and clips. Measure an intact panel and check the manual rather than choosing by price.
Which way up does twin-wall polycarbonate go?
Install the UV-protected face outward according to the sheet markings, with internal channels oriented as the system instructs—commonly so condensation can drain. Preserve the protective film until orientation is confirmed.
Is toughened glass better than horticultural glass?
Toughened glass has a safer break pattern and is often supplied in larger panes, while horticultural glass is cheaper and commonly overlapped. The greenhouse must be designed for the chosen pane format, weight and retention.
Can I cut polycarbonate greenhouse panels myself?
Some sheets can be cut with suitable tools and support, but the method, allowance, dust removal and edge sealing must follow the sheet and greenhouse instructions. Incorrect cutting can crack, contaminate or weaken the panel.
Where can I find the size of a replacement greenhouse pane?
Start with the model manual or manufacturer parts list, then compare an identical intact bay. Measure width, height and thickness in several places and record any overlap, gasket or corner shape.