
Greenhouse layout planning
Practical greenhouse layouts
Compare annotated propagation, mixed-crop and container layouts, with example dimensions, aisle calculations and a spring-to-summer greenhouse changeover plan.
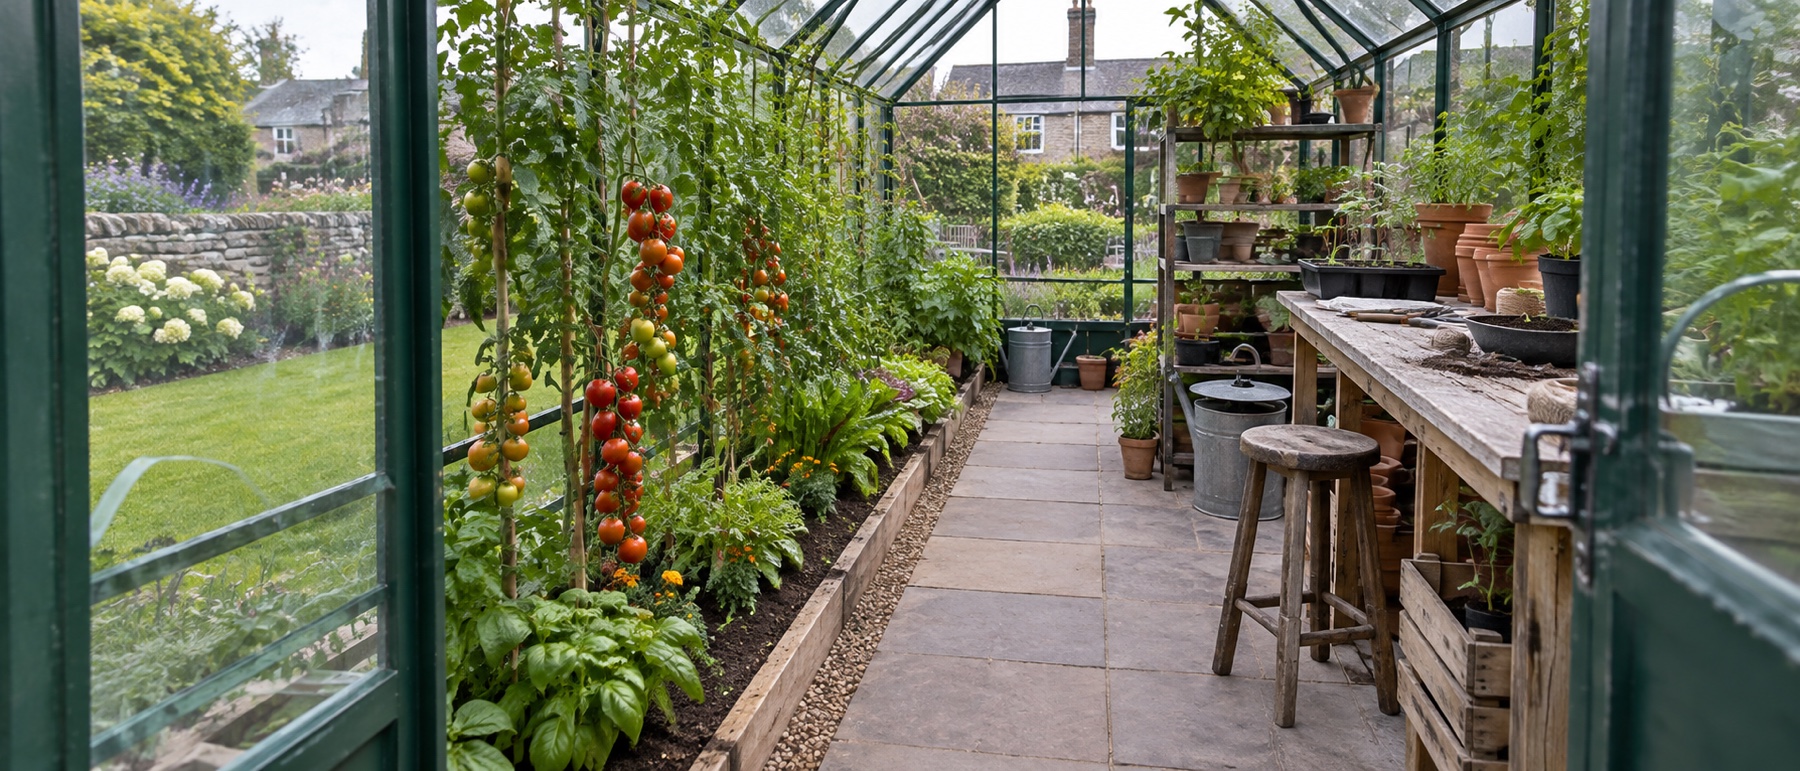
Draw to scale using the internal dimensions, not the nominal greenhouse size.
Reserve door swing, vent movement, crop overhang and maintenance access.
Put heavy water and compost low; keep frequently used tools near the entrance.
Design a spring propagation layout and a separate summer cropping layout.
Measure the true interior
A greenhouse sold as 6 × 8 describes a nominal footprint, not the uninterrupted floor you can furnish. Frame flanges, base rails, door tracks, braces, downpipes and louvre controls all consume space. Measure at floor, bench and shoulder height because sloping glazing narrows the upper volume.
Sketch the interior to scale on squared paper. Add the fully open door, vents, heater clearances and any immovable services. Draw mature crop width rather than the diameter of an empty pot. This prevents a comfortable March aisle becoming an impassable July tunnel.
Make the route non-negotiable
The path is the working core: you carry compost in, harvest out, reach a stop tap and leave quickly if glass breaks. It should be firm, level, drained and free from hoses. Choose its width for the people who use it, not a generic minimum.
Mock it up with boxes before buying staging. Wear the clothes and footwear used for gardening, carry a tray and turn at the end. If seated or step-free access is required, design the doorway, threshold, turning space, reachable shelf heights and controls together rather than widening only the middle of the path.
One space, changing jobs
Annotated greenhouse layouts for spring and summer
These three drawings use the same 1,800 × 2,400mm clear inside rectangle, after fixed frame projections. It is an illustrative worksheet, not the internal size of a named greenhouse. The plan geometry is proportional; the dimensions do not specify a foundation or guarantee that equipment fits your model.
Each example sets aside a 200mm rear strip and a 600mm front zone, leaving 1,600mm for the longer side runs. These are example allowances, not accessibility or maintenance minima. Doors, swing, thresholds, turning, vent mechanisms and mature foliage must be checked separately.
Two removable shelf runs prioritise trays. Use the upper levels selectively so lower plants receive light; the diagram counts width, not shelf capacity.
Left: 450 × 1,600mm. Right: 450 × 1,600mm. Remaining crosswise aisle: 1,800 − 450 − 450 = 900mm, before overhang.
Shorten the left shelf run to a workbench and replace the right shelves with a border or container zone. The extra crop-zone depth narrows the aisle; mature foliage can narrow it again.
Left: 450 × 1,000mm. Right: 600 × 1,600mm. Remaining crosswise aisle: 1,800 − 450 − 600 = 750mm, before overhang.
Two floor-level container zones leave a central route. The 400mm circles are example pot footprints, not a planting-density recommendation; choose actual pot spacing from the crops' mature spread.
Left: 500 × 1,600mm. Right: 500 × 1,600mm. Remaining crosswise aisle: 1,800 − 500 − 500 = 800mm, before overhang.
Keep tubing and trays within their assigned zones. Movable pots make changeovers easier, but their leaves and supports must stay clear of the route and vents as they grow.
What each arrangement takes from the aisle
| Layout | Left zone | Right zone | Aisle before foliage |
|---|---|---|---|
| Spring propagation | 450mm | 450mm | 900mm |
| Summer mixed crops | 450mm | 600mm | 750mm |
| Container-led flexibility | 500mm | 500mm | 800mm |
The mixed-crop example gains depth for the right-hand crop zone by giving up 150mm of crosswise aisle. Shortening its workbench creates another 600mm of open length on the left, but does not widen the pinch point opposite the bench. Area and access are different questions.
Change the spring plan into a summer plan
- Move plants at the right stage. Harden off suitable outdoor crops before removing their trays; keep tender plants protected until conditions suit them.
- Remove and clean one shelf run. In the example, the right-hand propagation shelves leave the greenhouse rather than becoming storage in the path.
- Set out the new crop zone. Mark the example 600mm right-hand zone and shorter left workbench, then include the crops' expected foliage and support positions.
- Recheck access, water and airflow. Keep the entry clear, reroute watering lines away from feet and preserve the movement of vents and automatic openers.
The RHS greenhouse-growing guidance supports planning seedling benches alongside space for summer crops. Use crop stage and conditions for the changeover, not a fixed date. See our hardening-off guide and UK growing calendar for the growing sequence.
For your own plan, replace every example dimension with measured clear space and actual equipment sizes. Use the aisle-width calculator for crosswise clearance, and the accessible-layout guide for the whole route. These drawings do not assess accessibility, crop yield or structural suitability.
Layout 1: one-sided staging for a 6 × 4
Use shallow shelving or a bench on one long side and keep the opposite side low. Large pots or a narrow border can sit there without creating a second hard edge at elbow height. The end wall can take one slim shelf above low crops if it does not block glazing or the route.
This arrangement preserves a usable aisle and puts most hand work on one side. It also leaves room to remove the shelving when summer plants expand. A 50cm-deep bench may be too dominant in some 6 × 4 models; tape the exact product footprint on the base first.
Layout 2: workbench plus border for a 6 × 8
Place a solid potting bench near the entrance on one side and continue with lighter staging towards the far end. On the opposite side, use a soil border or large containers for tomatoes, cucumbers and peppers. Train tall crops upward without crossing roof-vent mechanisms.
The entrance bench becomes the clean work zone, while compost and watering equipment stay low beneath it. A short gap between units creates access to glazing and a place for taller pots. Keep the last section of the path open enough to turn and inspect the end wall.
Layout 3: two narrow shelf runs for propagation
During spring, matching shallow shelves on both sides can hold many seed trays. Keep the heaviest items at the bottom and avoid so many levels that lower seedlings receive weak light. Use removable units so one side can come out as tomatoes and cucumbers need space.
This is a seasonal layout, not necessarily a permanent one. Photograph the arrangement and label the units so it can be rebuilt next spring without measuring again.
Layout 4: border-led growing
Deep soil borders along one or both sides suit crops that benefit from a larger root run and more stable moisture. They reduce the flexibility to remove diseased soil or change the plan, so build access points and avoid making a bed wider than you can reach without stepping into it.
Keep timber or masonry edging below the greenhouse frame drainage details. Where soil-borne problems develop, crop rotation, hygiene and periodic soil management become part of the layout decision.
Layout 5: container-led flexibility
Large pots and growbags let you change crops, remove exhausted compost and rearrange the greenhouse. They also dry faster and can clutter the floor. Group containers into defined watering zones on low trays or stable platforms, leaving the path clear.
Put tall pots against a support zone that can accept manufacturer-approved crop wires or free-standing supports. Do not tie heavy fruiting plants to vents, glazing clips or unverified roof members.
Place crops by height and season
Map the sun path and existing external shade. Tall summer crops can shade salads beneficially in some heat, but they can also deprive peppers or seedlings of light. Put the plants that need frequent handling where they can be reached without brushing through wet foliage.
Reserve the warmest high shelf for appropriate propagation only if it can be monitored. The floor is cooler, but storing tender plants under a leaking bench is not good zoning. Use max/min temperature readings at plant height to check assumptions.
Build a clean working triangle
Keep the main worktop, water point and frequently used supplies within a few steps. Store compost in a lidded container on a stable floor; store labels, ties and hand tools in a small caddy rather than covering the worktop. A waste tub beside the bench makes it easier to remove diseased leaves immediately.
Keep chemicals, fuels and electrical equipment out of improvised storage below watering lines. Follow their labels and store them securely away from children, heat and food-growing activities.
Plan water before filling shelves
Route irrigation along the back or underside of staging with accessible isolation and flush points. Do not create taut lines across a doorway. Separate high-demand fruiting crops from trays that need smaller, more frequent applications.
A water butt needs a stable full-load base, lid, filter and a realistic pressure plan. A mains connection needs suitable fittings and backflow protection. The greenhouse drip-irrigation guide explains how to test emitter output.
Preserve airflow and cleaning access
Leave space beneath and behind staging so debris can be swept and air can move. Do not cover louvres, automatic opener arms or the low inlets that supply cooler replacement air. Foliage should not press permanently against cold glazing.
At least once a season, move modular units and clean the concealed floor and frame. If a layout cannot be dismantled enough to replace a pane or reach a bolt, it is too dense.
Spring-to-summer changeover
In late winter and spring, the greenhouse may prioritise propagation: multiple shelves, heated mats where safely supplied and many small trays. By early summer, vertical crops and large containers take over. Decide in advance which unit folds, moves outside or becomes storage.
Use a simple plan with dates tied to crop stages rather than the calendar alone. When seedlings leave, clean the freed shelves before the next crop. This keeps the layout responsive without becoming a permanent jumble.
Sources and related guides
For crop hygiene and greenhouse growing principles, see the RHS guide to vegetables in greenhouses. Continue with our best greenhouse staging, small-greenhouse organisation guide and greenhouse ventilation guide.
Helpful products
Staging formats for the layout
A solid 50cm-deep bench creates a working zone; shallow four-tier shelves make better use of a tight wall run.

Woodside two-tier galvanised greenhouse staging
Best for: a sturdy potting and staging bench
A 115cm-wide galvanised-steel bench with a full worktop and lower shelf. Its published 75kg combined capacity and wipe-clean surfaces make it the most workbench-like option in this shortlist.
What stands out
- Full-width working surface
- Useful lower shelf
- Galvanised finish suits humid spaces
Keep in mind
- Fifty-centimetre depth needs a generous aisle
- Published capacity assumes correct assembly and level support
- 115 × 50 × 80cm
- two tiers
- galvanised steel
- 75kg total stated capacity

VonHaus four-tier greenhouse shelving, pack of two
Best for: high-capacity tray storage
Two slim powder-coated steel units, each with four open shelves. The pair offers eight tray levels without taking the depth of a full potting bench.
What stands out
- Eight shelf levels in the pair
- Shallow 30.5cm depth
- No-tool push-fit assembly
Keep in mind
- Not a comfortable potting height or solid worktop
- Lightweight units should be loaded evenly and secured if required
- two shelving units
- 90 × 30.5 × 107.5cm each
- four shelves each
- 8kg stated capacity per shelf
Common questions
Frequently asked questions
What is the best layout for a 6 × 4 greenhouse?
A single shallow bench or shelf along one side, a clear path and a low border or large pots on the other side is usually more workable than staging on both walls. Keep the far end available for one tall crop or a narrow shelf.
How wide should a greenhouse path be?
It must suit the gardener, tools and access needs. Test the proposed width with the actual door, watering can and a carried seed tray; allow extra space where foliage will overhang. Accessible use may require a substantially wider, firmer route.
Which side of a greenhouse should staging go on?
It depends on orientation, neighbouring shade and crops. Use measured light across the day. Avoid placing tall opaque storage where it will shade the main growing zone, and keep roof and louvre vents clear.
Should a greenhouse have beds or pots?
Beds provide a larger root volume and steadier moisture, while pots are flexible and make crop rotation or removal easier. A mixed layout often works best, provided the path and watering plan remain simple.
Where should a water butt go near a greenhouse?
Put it on a firm level stand rated for the full weight, close enough for a short safe connection but not where leakage can undermine the base or block the path. Fit a lid and filter and consider pump pressure before planning irrigation.
Do the illustrated layouts fit every 6 × 8 greenhouse?
No. The diagrams use a labelled hypothetical clear interior, not measurements from a named model. Replace the example dimensions with your actual clear width and depth, equipment footprints and mature crop space. Check doors, thresholds, turning and vent mechanisms separately.