
First greenhouse guide
First greenhouse checklist
A practical first greenhouse checklist covering measurements, position, base, access, glazing, ventilation, assembly and the essentials to plan before ordering.
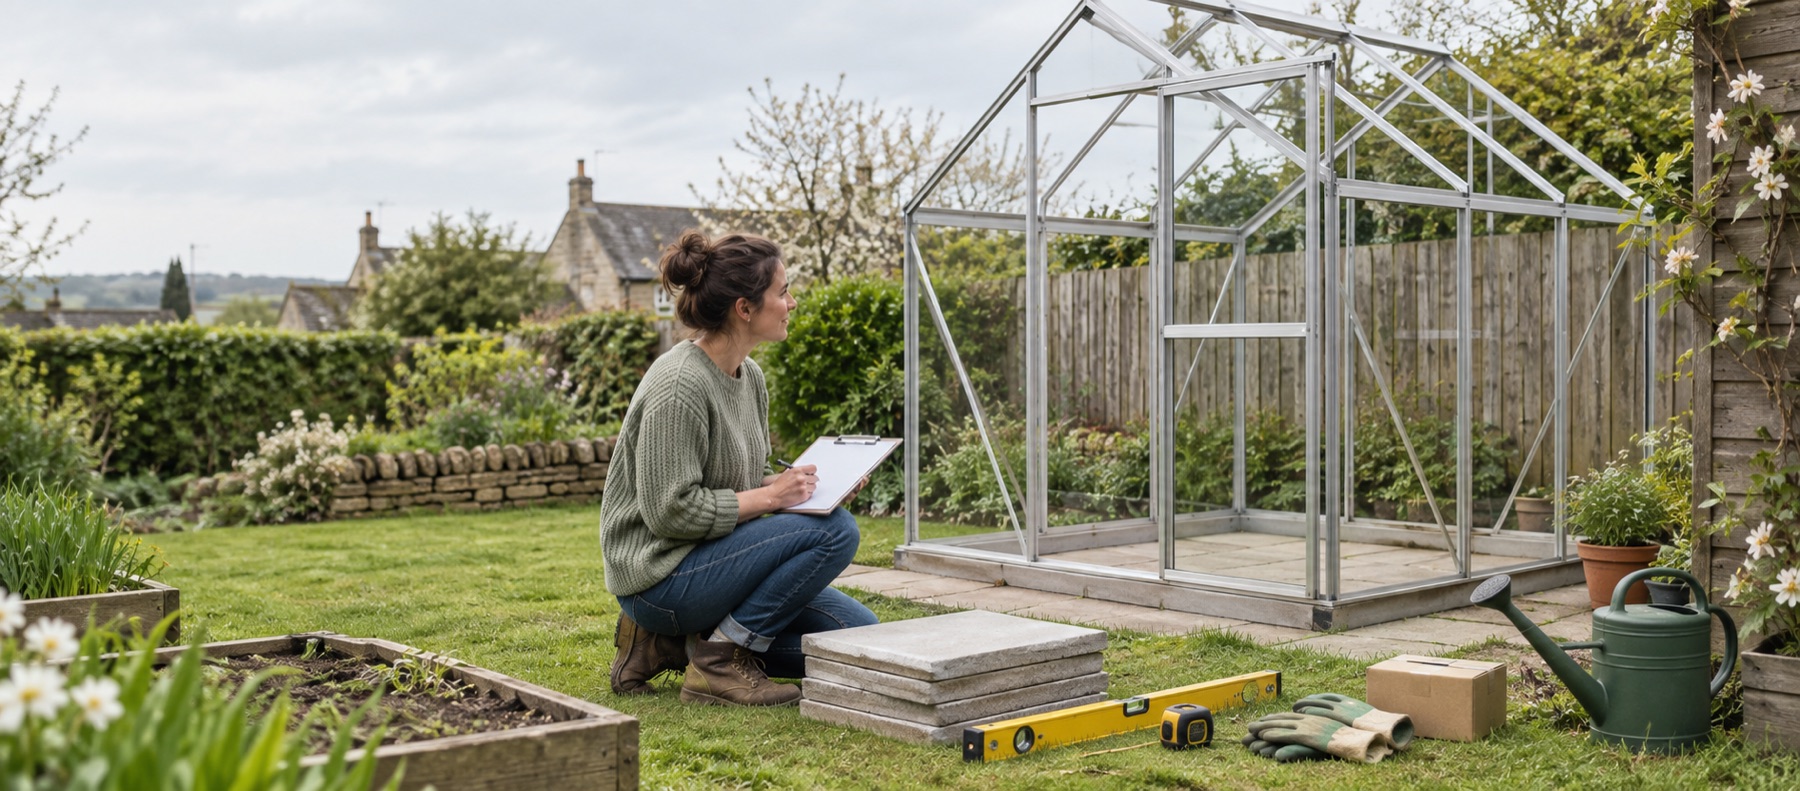
Our recommendations
Three common first-greenhouse formats
Use these examples to understand the practical difference between a compact walk-in, a roomier walk-in and a shelf-level growhouse.
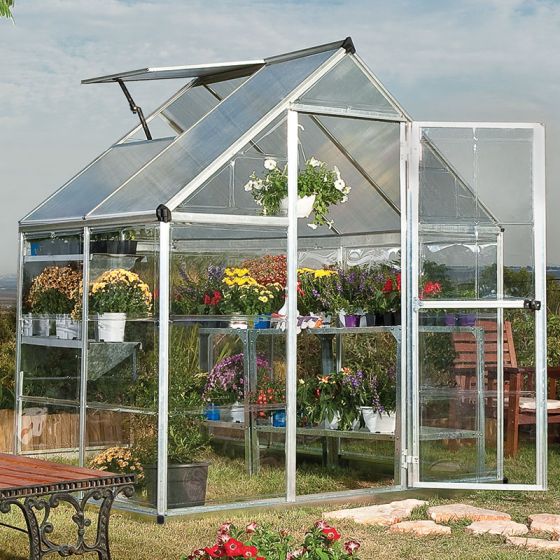
Palram Canopia Hybrid 6 × 4 greenhouse
Best for: a compact first walk-in greenhouse
A compact walk-in with a 1.85 × 1.25m base, diffusing twin-wall roof panels and clear polycarbonate sides. It is the most balanced fit here for a small garden that can still keep a central path.
What stands out
- Compact walk-in footprint
- Clear sides and diffusing roof
- Steel perimeter base included
Keep in mind
- Single 565mm door
- One roof vent means summer airflow needs planning
- 1.85 × 1.25m base
- aluminium
- polycarbonate
- one roof vent
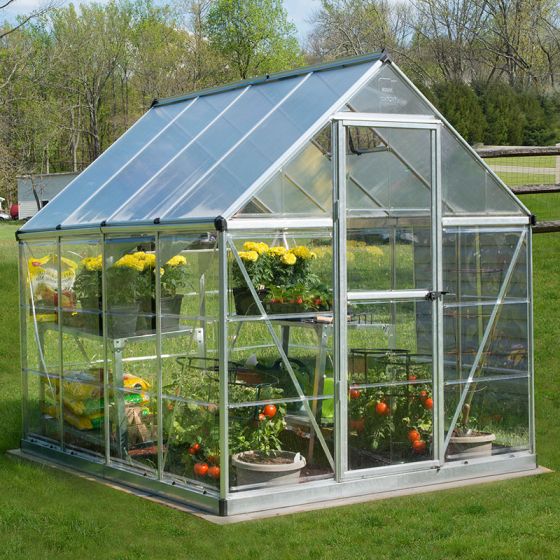
Palram Canopia Hybrid 6 × 8 greenhouse
Best for: more useful growing length
The same 1.85m width extended to 2.46m at the base. The extra length makes a more workable layout for staging plus floor crops if the site can spare the footprint and access around it.
What stands out
- Length for staging and tall crops
- Clear walls and diffusing roof
- Perimeter base included
Keep in mind
- Needs much more prepared base
- Door remains 565mm wide
- 1.85 × 2.46m base
- aluminium
- polycarbonate
- integrated gutters
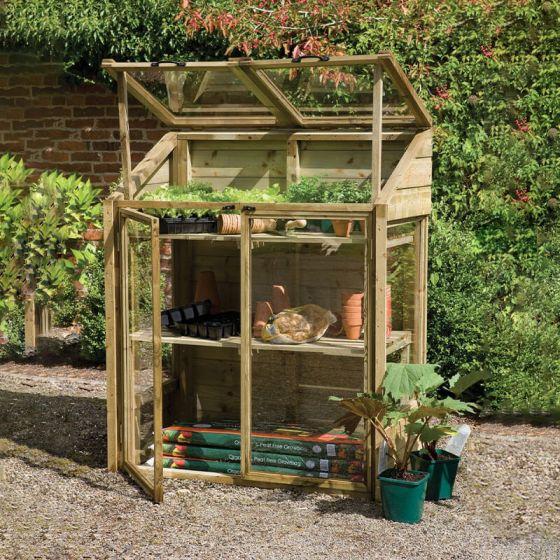
Forest Wooden Mini 4 × 2 growhouse
Best for: the smallest fixed footprint
A 1.2m-wide timber growhouse with two front doors, two independently opening glazed lids and two internal shelves. It trades walk-in access for a genuinely shallow 0.62m footprint.
What stands out
- Very shallow footprint
- Shelves and growbag-level space
- Independent lids for flexible access
Keep in mind
- Not walk-in
- Capacity falls quickly as plants grow tall
- 1.20 × 0.62m
- pressure-treated timber
- two shelves
- split lid
| Format | Best when | Space consequence | Base | Main planning check |
|---|---|---|---|---|
| 6 × 4 walk-in | You want a compact aisle | Limited staging and floor crop room | Model-specific foundation | Door and outside access |
| 6 × 8 walk-in | You expect mixed crops | Longer base and assembly area | Model-specific foundation | Ventilation and usable length |
| 4 × 2 growhouse | You mainly raise trays and pots | No standing aisle | Stable level surface | Shelf height and lid clearance |
Before you choose a model
Define the first-year growing plan
Write down the crops and jobs that matter most. Seed trays and cuttings need accessible staging. Tomatoes and cucumbers need height, ventilation and strong supports. Pots moved in for winter need clear floor space and a wide route. If the list is mostly herbs, salads and seedlings, a tall wall greenhouse or mini growhouse may be more efficient than a walk-in.
Avoid planning the interior around the small size of plants in spring. A few vigorous summer crops can remove the aisle and block vents surprisingly quickly.
Measure the whole working area
- Mark the exact base dimensions from the product specification.
- Add the overall dimensions, including roof or gutter overhangs.
- Mark the open or sliding door and the approach path.
- Allow room to clean the glazing and reach gutters.
- Reserve a separate area for unpacking and assembling long components.
- Walk the delivery route and measure gates, turns, steps and narrow passages.
Photograph the marked plot from several angles. It is easier to spot conflicts with a downpipe, fence post or tree branch when reviewing a clear outline than when imagining a finished greenhouse.
Position and permissions checklist
Choose a position with useful daylight, manageable wind exposure and no obvious risk from falling branches. Look at the site at different times of day rather than relying on one sunny visit. A location that receives morning light and remains accessible can be more useful than an all-day sun trap with poor ventilation.
Check boundaries, roof eaves, drains and services before digging. Greenhouses often fall within general outbuilding rules for houses, but planning circumstances differ for listed buildings, designated land, flats, leaseholds and properties where permitted-development rights are restricted. Ask the local planning authority when the property or position creates doubt.
Base and anchoring checklist
Read the exact instructions before preparing the foundation. Confirm whether a perimeter base is included, sold separately or not part of the system. The supporting surface must be level enough to keep doors and panels square, stable over time and compatible with the specified anchors.
Decide whether the interior will be paved, gravelled or planted into soil. That choice affects drainage, cleaning, pests and how staging is fixed. If you use a perimeter foundation with soil inside, plan the path before assembly. If you pave the whole area, include falls and drainage without twisting the greenhouse base.
Never treat the weight of the frame as its anchoring system. Wind acts on a large glazed surface, so use the manufacturer's fixing points and hardware suitable for the foundation.
Delivery and assembly checklist
- Confirm the number, length and weight of packages where published.
- Arrange a dry, secure place to store panels and fixings.
- Check how many people the instructions require.
- Choose a calm forecast and allow more time than the shortest estimate.
- Sort fixings into labelled groups without removing part references.
- Check the frame for square at each stage rather than correcting it after glazing.
- Wear suitable gloves and eye protection for the materials being handled.
- Keep children and pets away from the assembly area.
Large glass panes demand especially careful handling, while lightweight polycarbonate panels need control in wind. Do not substitute adhesives, extra holes or improvised fixings unless the manufacturer approves them.
Ventilation and temperature checklist
Count the opening vents and decide how replacement air will enter. A roof vent releases hot air; an open door or low vent helps cooler air replace it. Automatic vent openers are useful when compatible, but they do not remove the need to inspect hinges, seals and opening clearances.
Place a maximum-and-minimum thermometer away from direct sun so you can learn the overnight low and daytime peak. Use those readings to decide whether shading, fleece or extra ventilation is actually needed.
Water checklist
Identify the water source before filling the greenhouse. A nearby outdoor tap simplifies regular watering; a water butt can collect from compatible gutters; cans remain reliable for small spaces. Keep hoses and irrigation tubes away from the aisle and door.
Watering needs change with weather, crop size and container volume. A timer is not a substitute for checking the compost and emitters. Start with a simple system you can inspect, then add automation when the crop layout is stable.
Interior layout checklist
Draw the door, aisle, vents and usable height to scale. Add staging only where it does not block access or force tall crops into the eaves. Keep the main path clear enough to carry a watering can and turn safely. Shelves above staging are excellent for light trays but can shade plants below.
Leave at least one flexible area. It may become a potting surface in spring, support tomatoes in summer and hold tender pots in autumn. A completely fixed interior often feels efficient for one month and restrictive for the rest of the year.
The day-before checklist
Recheck the base level, diagonals and anchor positions. Compare the delivered model and glazing option with the order. Read the instructions from beginning to end, charge tools, gather protective equipment and move unrelated garden furniture away from the assembly route.
After construction, inspect every panel retainer, door stop, vent and anchor before loading the greenhouse with plants. Keep the manual and component references somewhere dry; they are valuable when ordering replacement parts later.
If you have not chosen a structure yet, start with how to choose a greenhouse. For foundations and siting, continue to greenhouse bases, positioning and installation.
For model-specific preparation, start with the maker's manual. The Halls assembly library provides an example of the documents you should obtain before buying, rather than discovering foundation or glazing requirements after delivery.
Common questions
Frequently asked questions
What should I buy with my first greenhouse?
Start with only what the structure needs to work safely—a compatible base and anchors, staging or beds planned to the interior, a thermometer, watering equipment and any model-specific ventilation parts. Add specialist accessories after using the space.
Should I build the base before the greenhouse arrives?
Yes, once you have the exact technical drawing for the chosen model. Do not set out foundations from a generic 6 × 4 or 6 × 8 label because actual base dimensions vary.
How much room should I leave around a greenhouse?
Leave enough room for assembly, cleaning, panel replacement and safe access to gutters and vents. The necessary strip depends on the model and boundaries, but a greenhouse pressed tightly against obstacles is difficult to maintain.
Do I need electricity in a first greenhouse?
Not necessarily. Many beginners can manage ventilation, watering and season extension without mains power. If electricity is required, use a competent electrician and equipment designed for the damp greenhouse environment.
When is the best time to install a greenhouse?
Choose a period when the ground can be prepared accurately and calm weather is likely. The practical priority is a level base and a safe assembly window, not a particular calendar date.